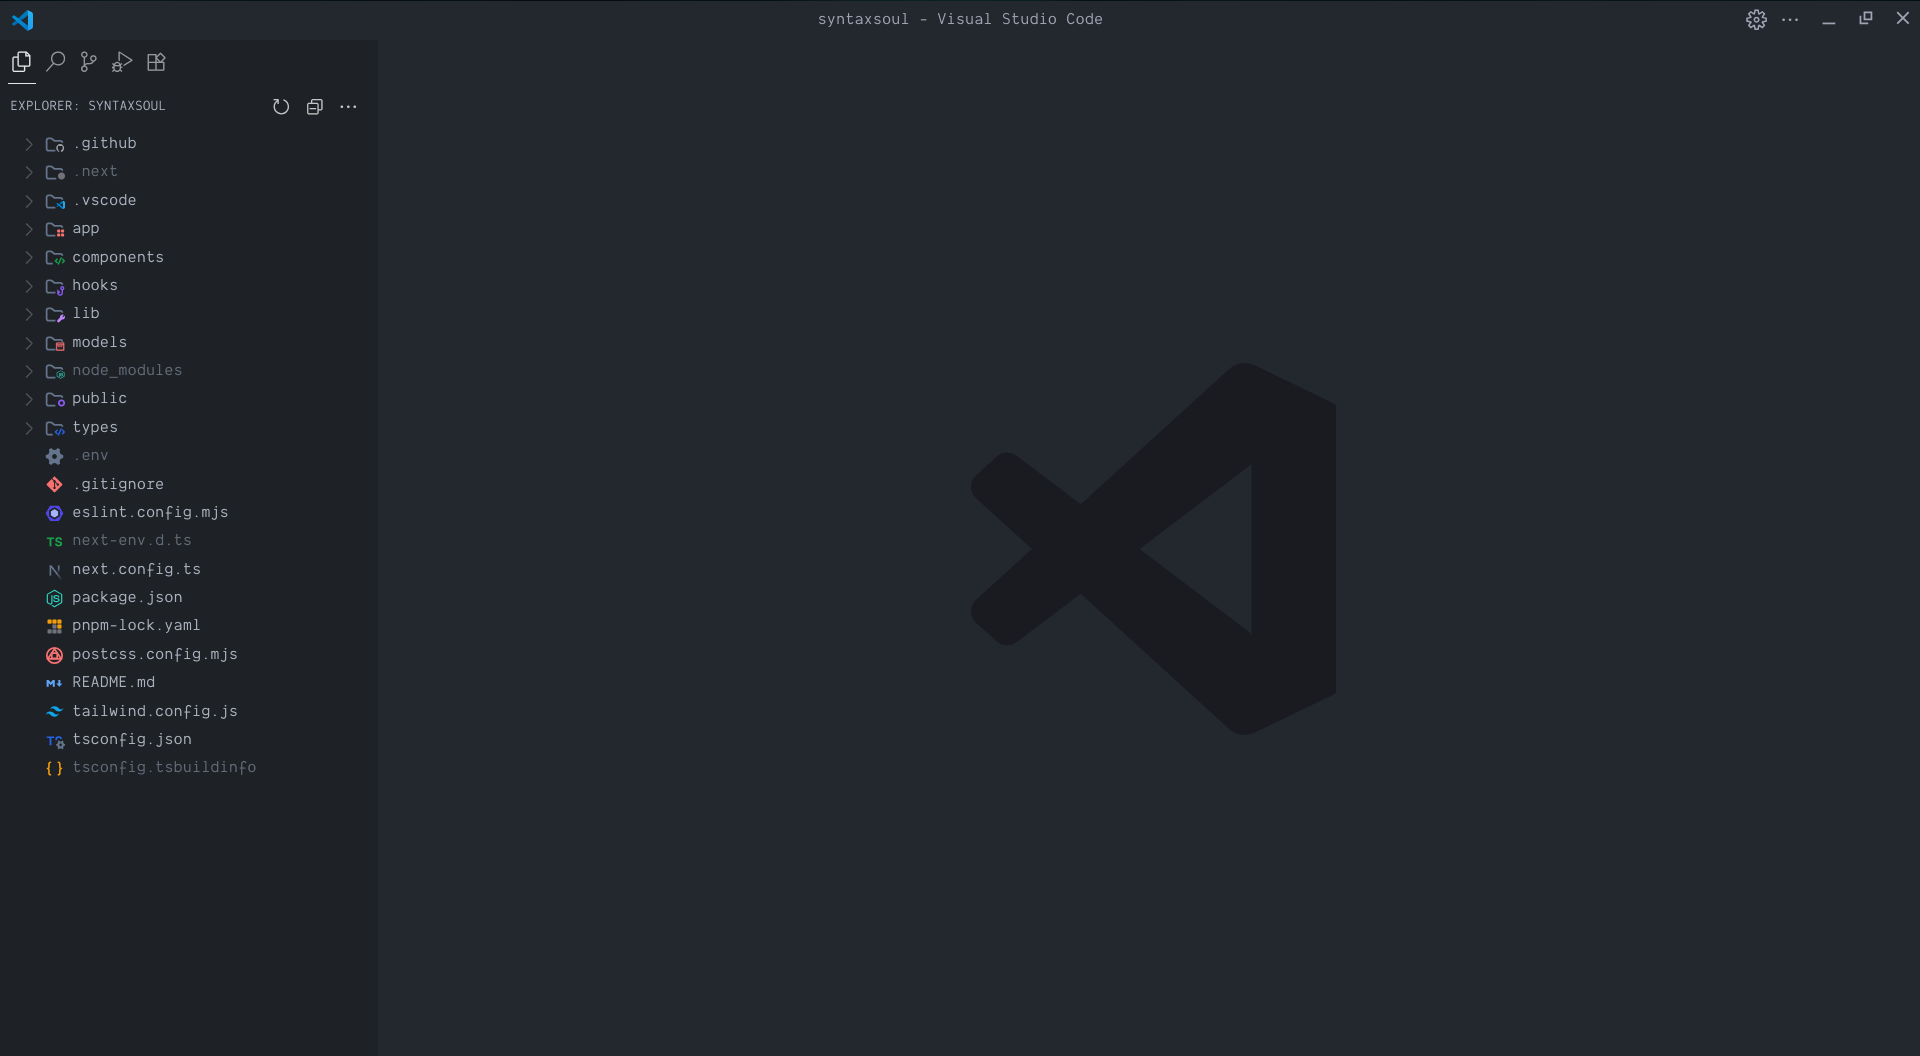
⚙️ 1. Configuring settings.json for a Clean VS Code Setup
open the Command Palette in VS Code, press:
Ctrl + Shift + Pit will open the Command Palette
Then type:
settings.jsonFrom the list, select: Preferences: Open User Settings (JSON)
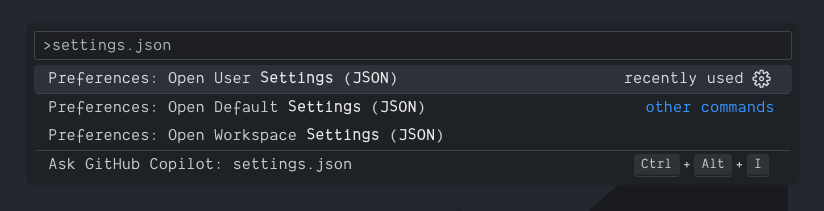
This opens your personal configuration file, where you can fine-tune everything from themes to editor behavior.
Once you’ve opened your settings.json file via the Command Palette, paste the following configuration.
{
  "editor.fontSize": 16.3, // 👓 Slightly larger font for better readability
  "editor.lineHeight": 20.1, // 📏 Adjusts line spacing for a more breathable layout
  "editor.padding.top": 5, // 🧘 Adds top padding to center the code visually
  "workbench.secondarySideBar.showLabels": false, // 🧭 Hides labels in the secondary sidebar for a cleaner look
  "workbench.statusBar.visible": false, // 🚫 Removes the status bar to reduce visual noise
  "terminal.integrated.tabs.hideCondition": "singleTerminal", // 🧵 Hides terminal tabs when only one is open
  "window.commandCenter": false, // 🧭 Disables the command center from the title bar
  "window.menuBarVisibility": "toggle", // 🧼 Menu bar toggles on hover — minimal until needed
  "explorer.compactFolders": false, // 📁 Keeps folder structure expanded for clarity
  "explorer.confirmDragAndDrop": false, // 🖱️ Removes confirmation prompts for drag-and-drop
  "explorer.confirmDelete": false, // 🗑️ Removes confirmation prompts for delete actions
  "workbench.startupEditor": "none", // 🚀 Starts with an empty editor — no welcome screen
  "workbench.tips.enabled": false, // 🧠 Disables random tips on startup
  "window.zoomLevel": 0.6 // 🔍 Slight zoom for better visibility without clutter
}
Now that your VS Code is visually cleaner,
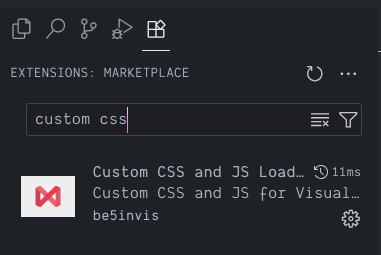
🎲2. let’s take it a step further by editing the actual UI using an extension.
Install the Custom CSS and JS Loader extension. This lets you inject your own styles and scripts into VS Code — perfect for hiding unwanted elements or tweaking the interface beyond what settings.json allows.
Now let’s create the file that will hold your custom styles.
-
Open your file explorer.
-
Navigate to: Documents
-
Create a new file and name it: custom-code-style.css
🎨 Paste This Into custom-code-style.css
Now that you’ve created your custom-code-style.css file, paste the following configuration into it. These styles will clean up and personalize your VS Code interface — from font smoothing to scrollbar removal and subtle UI tweaks:
/* Apply custom font to all elements except codicons */
* :not(.codicon) {
  font-family: 'Dank Mono', 'SF Mono', Monaco, Inconsolata, 'Roboto Mono', 'Source Code Pro', Menlo, Courier, monospace !important;
}

/* Center the command palette vertically */
.quick-input-widget {
  top: 25vh !important;
}

/* UI customizations */
.notification-toast,
.quick-input-widget.show-file-icons,
.editor-widget.find-widget {
  box-shadow: none !important;
}

.editor-widget.find-widget {
  border-radius: 4px;
}

.quick-input-list .scrollbar,
.monaco-action-bar.quick-input-inline-action-bar,
.monaco-scrollable-element > .shadow.top,
.monaco-editor .scroll-decoration,
.monaco-editor .cursors-layer {
  display: none;
}

.quick-input-titlebar {
  background: #100B15 !important;
}

.monaco-workbench .part.editor > .content .editor-group-container > .title.title-border-bottom:after {
  display: none;
}

.sidebar .title-label {
  padding: 0 !important;
}

.sidebar {
  border: none !important;
}

.monaco-workbench .monaco-list:not(.element-focused):focus:before,
.monaco-list-row.focused {
  outline: none !important;
}

.title.show-file-icons .label-container .monaco-icon-label.file-icon {
  justify-content: center;
  padding: 0 !important;
}

.title .monaco-icon-label:after {
  margin-right: 0;
}

.monaco-workbench .part.editor > .content .editor-group-container > .title > .label-container > .title-label {
  padding-left: 60px;
}

.title .monaco-icon-label.file-icon {
  margin: 0 35px;
}

.monaco-editor .cursors-layer .cursor {
  background-image: linear-gradient(135deg, #ffaffc 10%, #DA70D6 100%);
}

/* Safer: only affect icons in the Explorer sidebar */
.explorer-viewlet .monaco-list-rows .codicon {
  color: #ffffff3b !important;
}
now, open settings.json file and add this code the existing configuration
 //my example
"vscode_custom_css.imports": [

    "file:///run/media/murali/Backup/custom-code-style.css"

],

//replace [cssfilepath] with your custom-code-style.css
"vscode_custom_css.imports": [

    "file://[cssfilepath]"

],
🔡 Install Dank Mono Fonts
To make your VS Code look exactly like mine, you’ll need to install the fonts used in the configuration:
To complete the look and feel of your customized VS Code setup, head over to the Dank Mono GitHub repository and download the following font files.
DankMono-Bold.otf < click to download
DankMono-Italic.otf < click to download
DankMono-Regular.otf < click to download
Once downloaded, install each font manually by right-clicking on the file and selecting: Install
🧼 Hide Unnecessary Elements from the Top Bar
To keep your workspace clean and distraction-free:
-
Right-click on the top bar of VS Code.
-
Untick any elements you don’t need

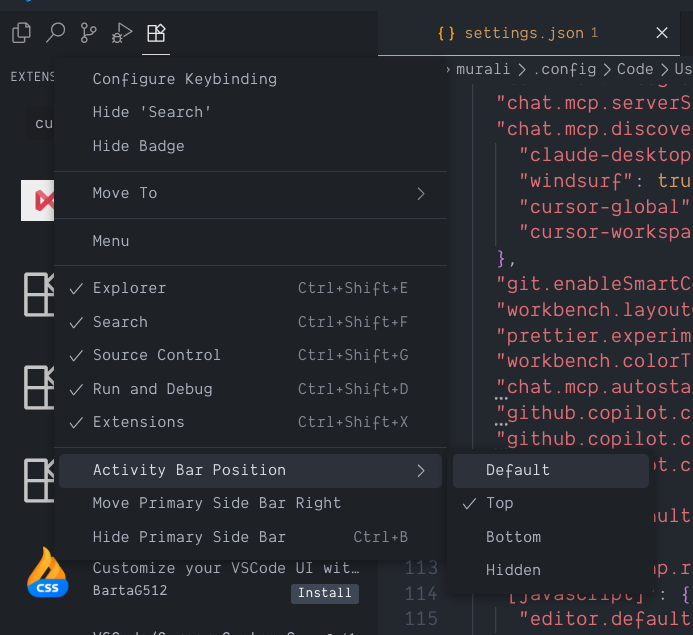
📐 Make the Activity Bar Compact
To streamline your workspace even further, reposition the Activity Bar:
-
Right-click anywhere on the Activity Bar.
-
Select: Activity Bar Position → Top
🧩 Final Touch: Install These Extensions
To complete your VS Code setup, head to the Extensions Marketplace and install the following:
One Dark Pro

-
Search for One Dark Pro
-
Install it and select the “One Dark Pro Darker” theme for a sleek, modern look.
Symbols
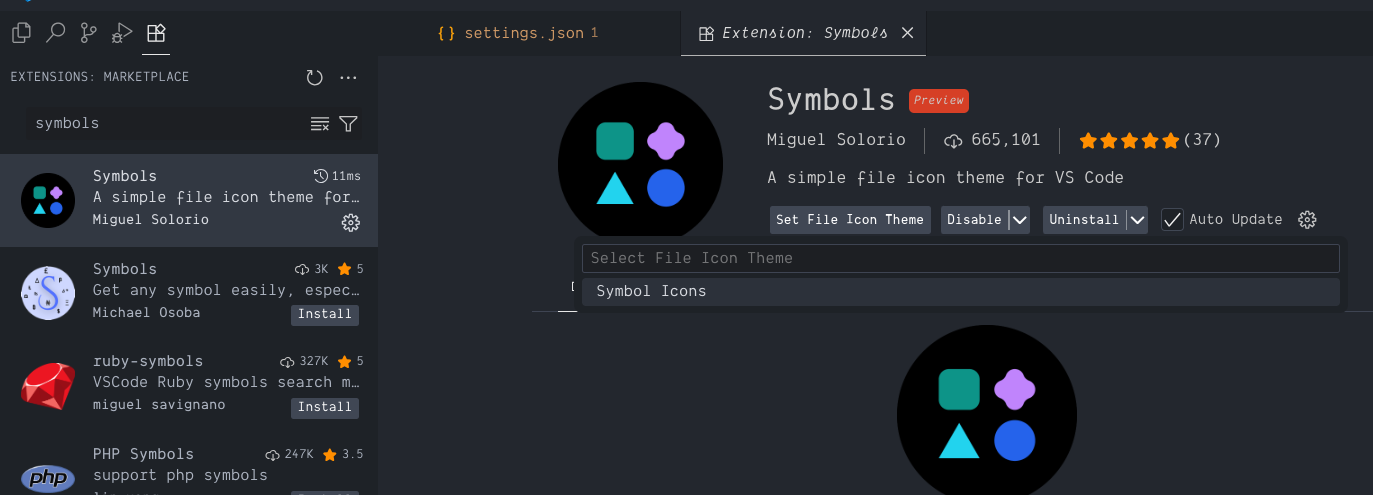
-
Search for Symbols
-
Install and activate the icon pack to enhance file navigation with clean, expressive visuals.
Prettier – Code Formatter
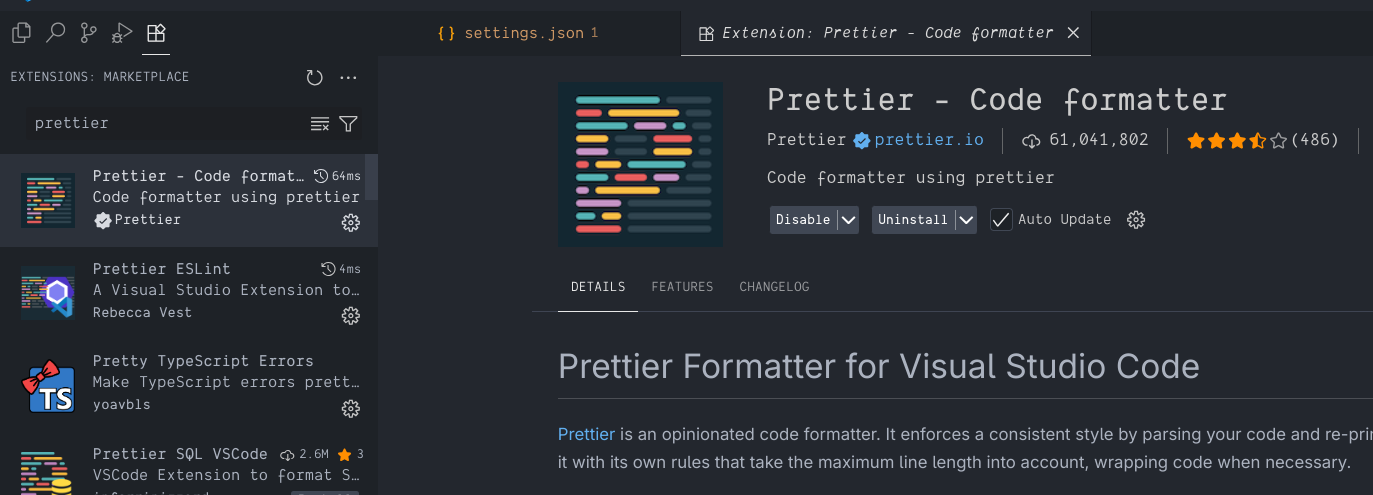
-
Search for Prettier
-
Install it to automatically format your code on save, keeping everything neat and consistent.
🧼 Enable Format on Save
To make Prettier work automatically, enable Format on Save in your settings:
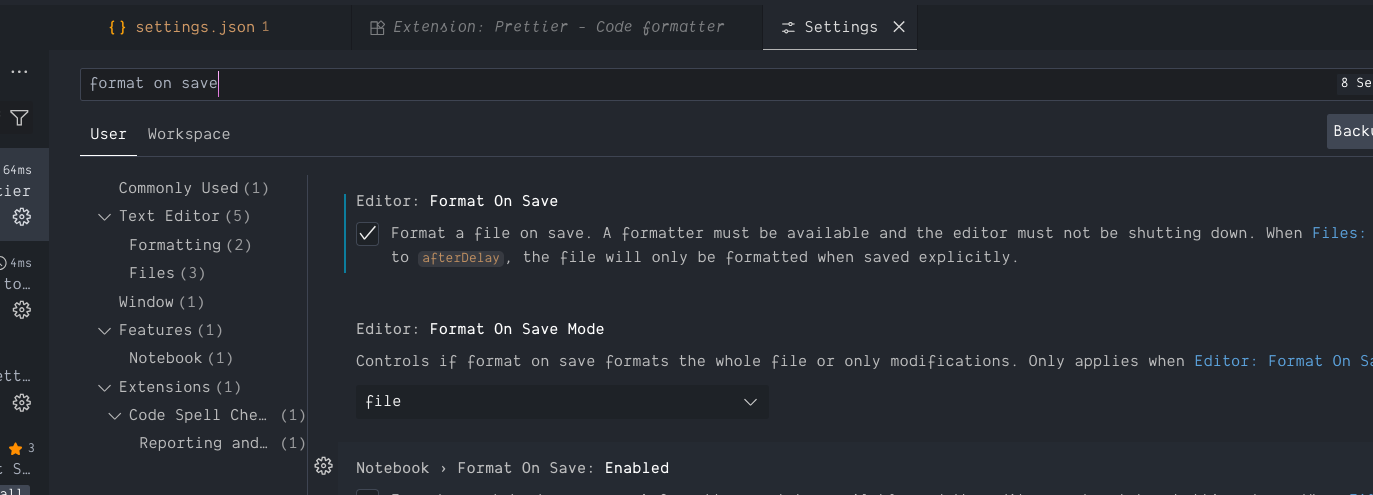
- Open the settings, you can use below shortcut
Ctrl + ,-
In the search bar, type: Format On Save
-
Check the box to enable it.
🧠 Now every time you hit save, your code gets cleaned up instantly — no extra steps, no mess.
🎉 That’s a Wrap!
You’ve just transformed VS Code into a sleek, focused, and personalized coding environment — from deep settings.json tweaks to custom CSS injections and handpicked extensions. This isn’t just a setup… it’s a statement.
If you found this guide helpful, follow me on GitHub and LinkedIn — I share more tips like this to help developers build intentional, distraction-free workflows.